Media Wall or Laminate Flooring First?
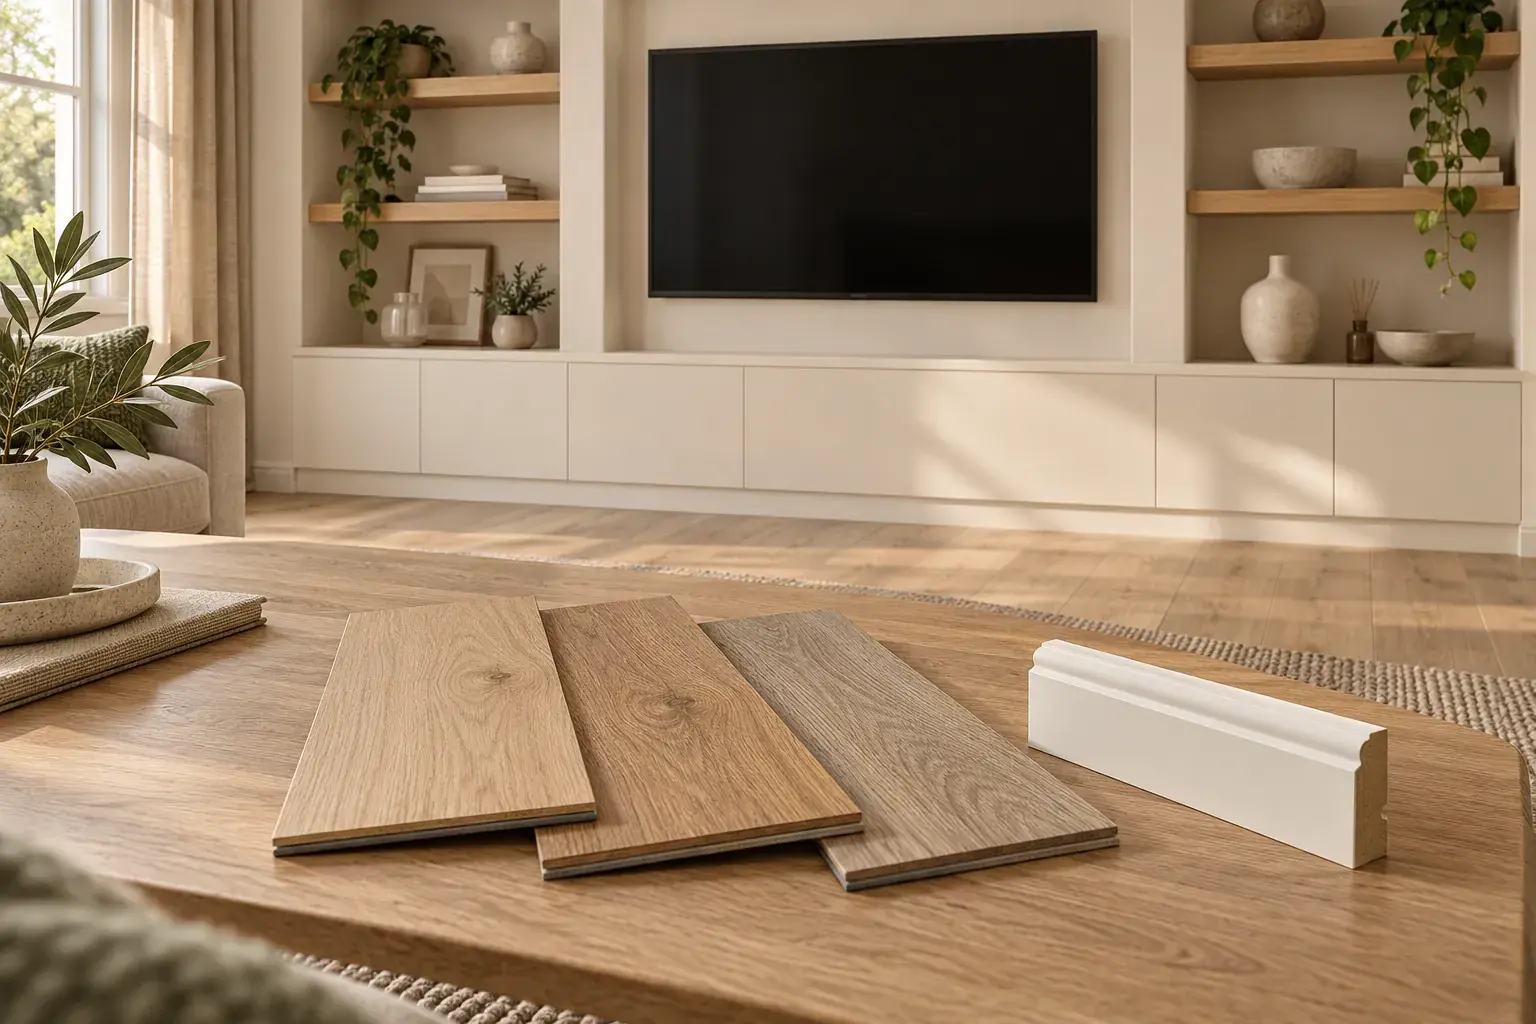
For a fixed media wall and new floating laminate, plan the fixed structure first and the laminate around it—not a structure that traps the floating floor underneath. Agree the junction with both installers before either starts. Final skirting and trims can then conceal the flooring edge without preventing the movement the flooring manufacturer requires.
That is a starting point for a coordinated design, not a rule that every last media-wall finishing task must happen before any flooring work. A wall-hung unit, an existing floor being retained and a different flooring system can each need a different arrangement.
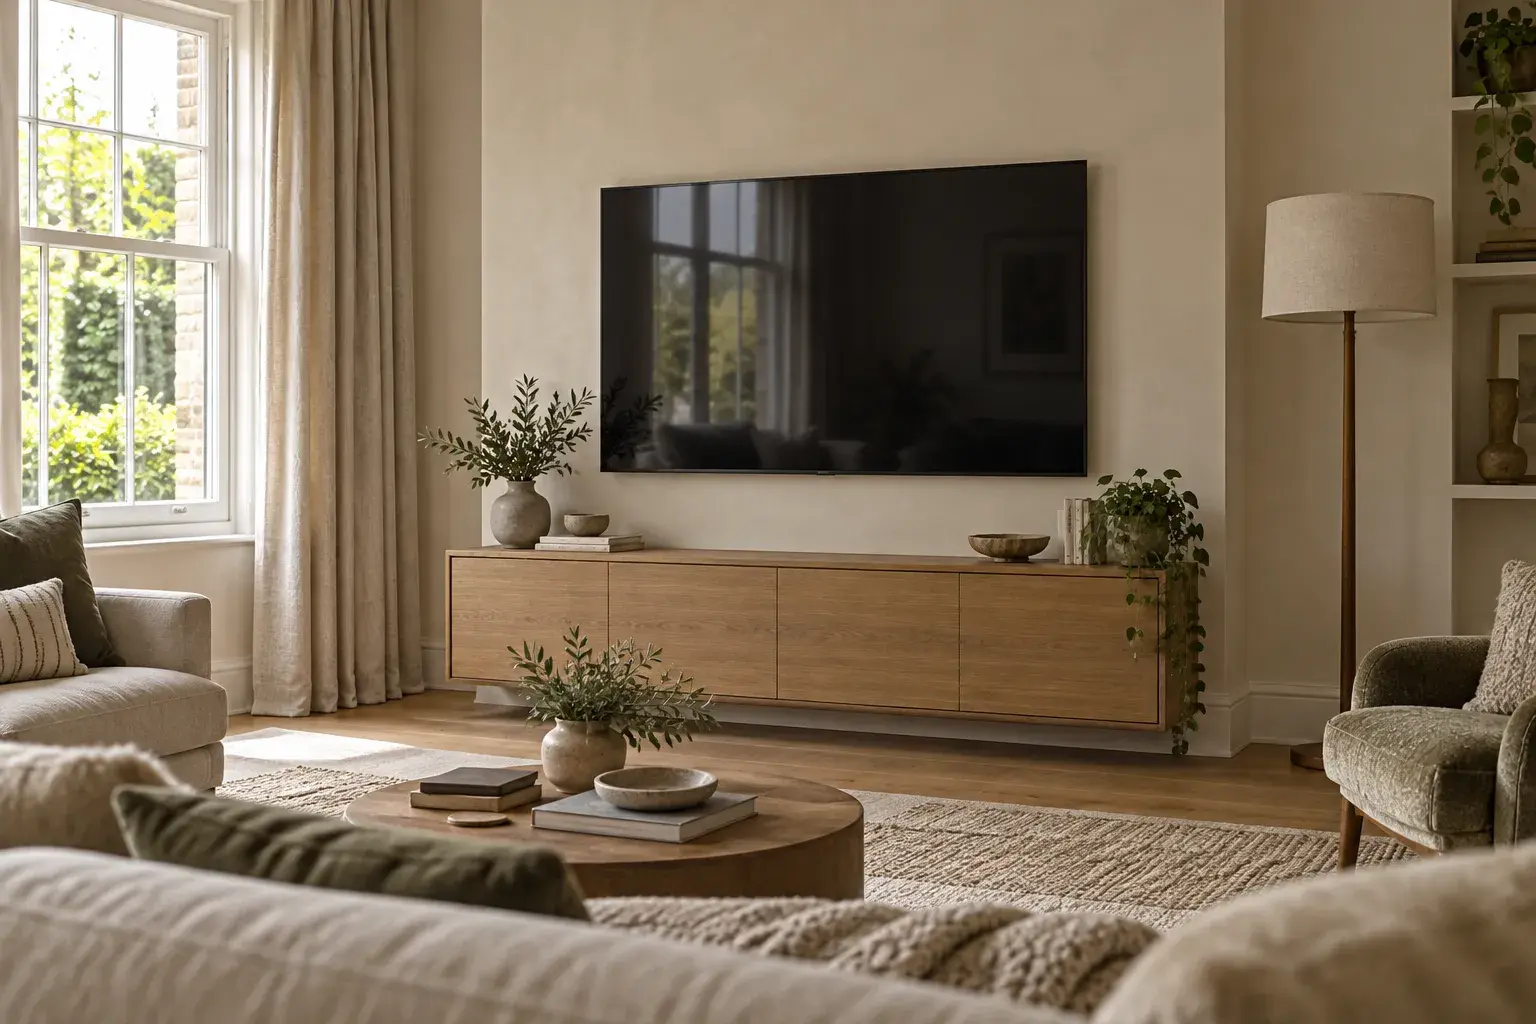
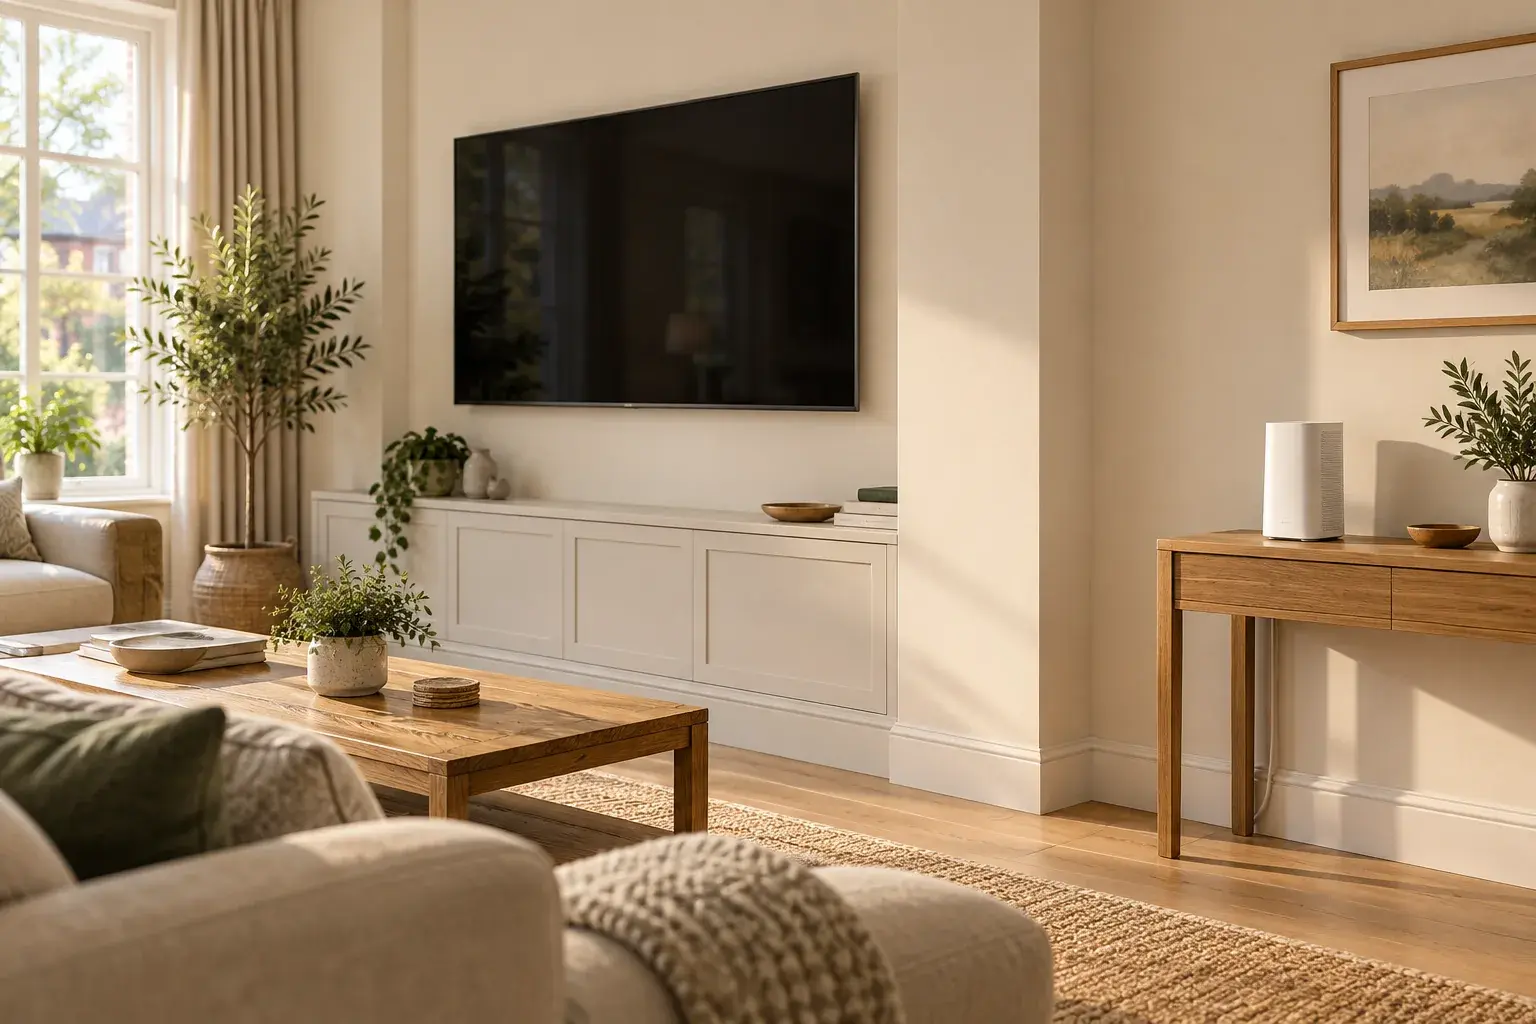
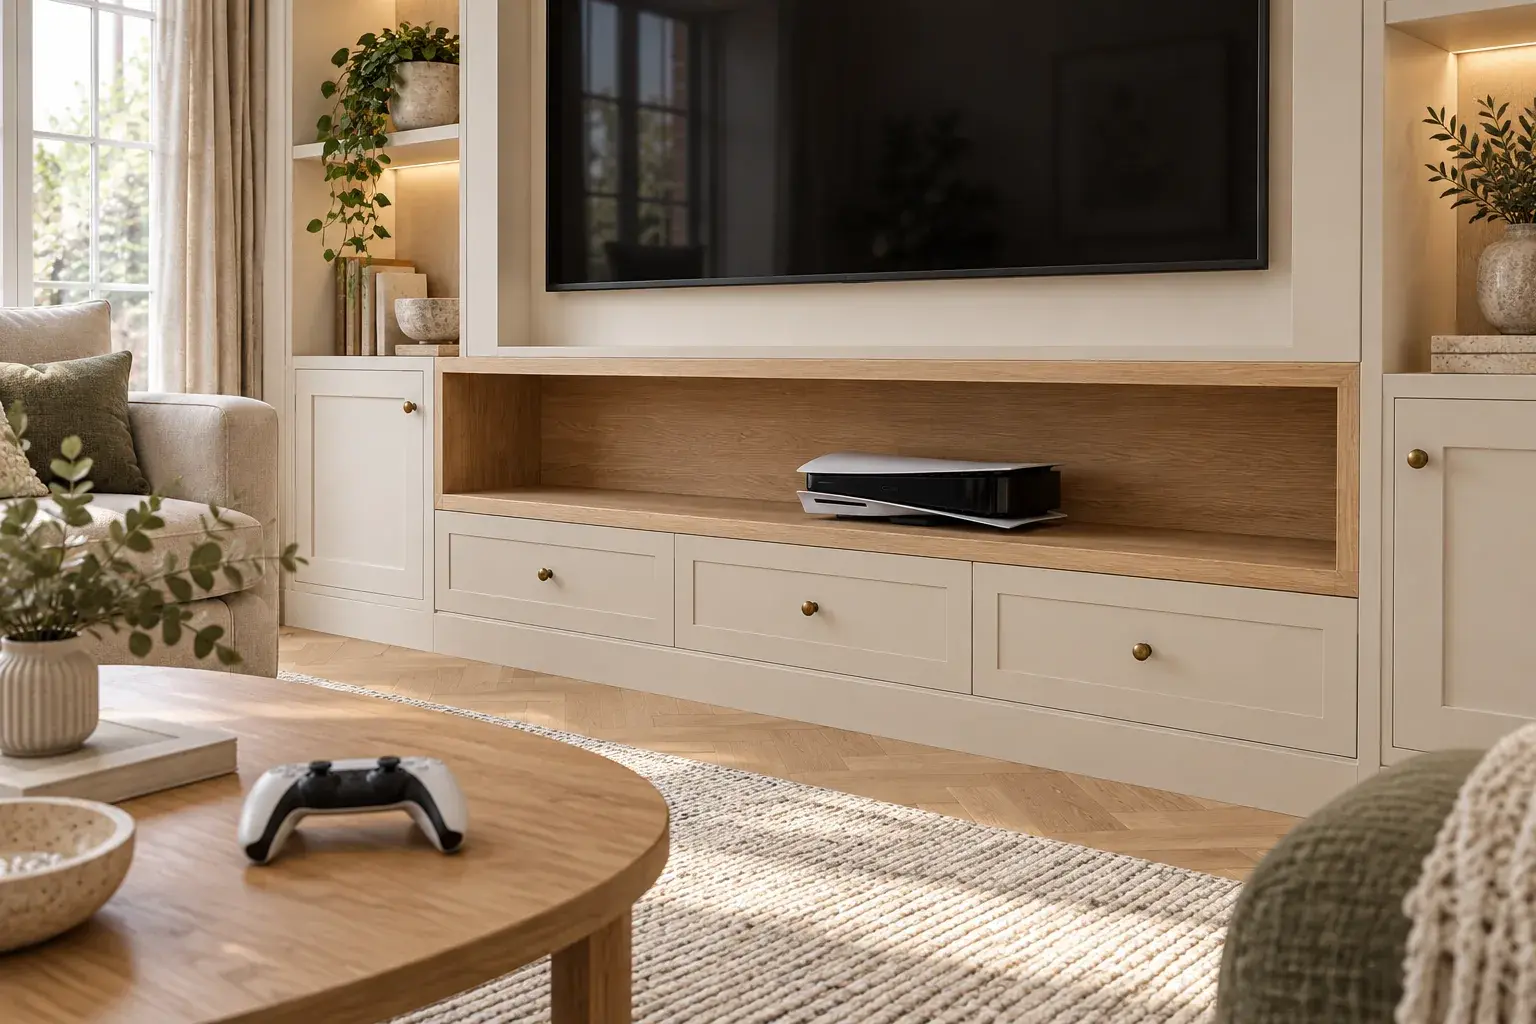
Image: original AI-generated editorial concept, not a completed customer installation or a construction detail.
Separate the fixed build from the floating finish
Laminate is a finish, not automatically a suitable base for fixed joinery. Quick-Step's laminate installation instructions say heavy fixed objects should go in before its floating laminate, with the floor free to move around them. They also prohibit fastening the floating floor with screws, nails or similar restraints.
The practical implication for a floor-supported media wall is to design its support and fixings independently of that moving finish. Do not assume that laying the whole room first and screwing the wall's base through the planks is acceptable. Ask the joiner and flooring installer to agree a detail that suits the selected products and the actual floor construction.
The manufacturer's expansion-gap guidance also identifies fixed objects as places requiring movement space. Use the instructions for your exact floor; there is no single gap dimension prescribed here for every laminate range.
Agree the handoffs before booking dates
The most useful schedule names what must be agreed or ready at each stage. Give both trades the same drawing, flooring specification and scope of work.
| Stage | What should be settled before moving on |
|---|---|
| Design and survey | The media wall's finished footprint, support arrangement, flooring product and intended floor level |
| Fixed build and preparation | Which work needs access to the underlying floor, and which dusty or wet finishing tasks should precede the new surface |
| Flooring handover | The flooring installer confirms the substrate and room conditions are ready, and knows exactly where the finished media-wall face will be |
| Edge finishing | Who supplies and fits skirting, returns or other agreed trim, and how the floor's movement provision stays unobstructed |
| Final completion | Who returns for decoration, protection removal and any agreed touch-ups |
Do not convert this into a guaranteed number of days. Ask the installers to account for preparation, drying and product requirements before they give you dates. Our media-wall installation walkthrough explains the wall-building stages; the extra task here is coordinating those stages with another finish and potentially another contractor.
Also settle whether skirting will continue across the media wall, return around its sides or stop against a different detail. A photograph of a finished room rarely reveals how that junction was built.
Set cabinet and trim heights from the finished floor
Ask for drawings to distinguish the existing surface from the proposed finished floor level. Otherwise, two trades can work accurately from different starting points and still produce an awkward result.
For an illustrative example, suppose the specified laminate is 10mm thick and its approved underlay is 3mm. With no other change to the underlying surface, that build-up adds 13mm. A cabinet bottom drawn 150mm above the bare surface would sit only 137mm above the finished flooring.
Those numbers are not a product recommendation or a suggested cabinet clearance. They simply show why “150mm above the floor” is incomplete unless everyone knows which floor is meant. Removal of an old finish or additional floor preparation would change the calculation again.
Have the designer check the intended visual gap, cupboard-door operation and removable panels against the final level. For the separate question of how far the wall projects into the room, see our media-wall depth guide.
What if the laminate is already fitted?
Tell the installer you want to retain it before accepting the media-wall quote. Provide the product details if available, and ask how the new fixed structure would be supported without restraining the floor.
Do not assume that the only choices are “build straight on top” or “replace the whole room”. The survey should establish whether an appropriate local alteration or a different design is possible. Any cutting, lifting, making good and edge finishing needs to be named in the scope rather than left as an unexpected extra on installation day.
If future removal matters to you, ask what flooring will remain beneath the proposed footprint. Keep spare matching boards where practical, but do not assume that a later patch will be invisible or that the same range will still be available.
Does a wall-hung design change the order?
It can. A genuinely wall-supported cabinet is a different situation from a floor-supported frame or cupboard bank. However, the word “floating” in a furniture description is not enough: establish what actually supports it and whether any plinth, leg or fixing meets the floor.
Let the designer confirm the support arrangement. Then ask the flooring installer whether access, installation order or edge detailing changes. Likewise, do not apply floating-laminate instructions automatically to glued flooring, tiles or carpet; identify the real product and fitting method first.
Put the junction in the quote, not just the picture
When requesting a bespoke media wall, send photos of the existing wall, floor and skirting together. Include the chosen flooring product, whether the current finish is staying, and who is arranging each part of the work.
Ask the written scope to allocate floor alterations, protection, skirting and final decoration to named parties. A shared detail and clear responsibilities are more useful than two separate promises that each job will look tidy.
Smart Space Living covers South Wales service areas. Request a media-wall consultation and quote, and mention planned flooring changes at the outset so the design can be coordinated before materials are ordered.