How Deep Should a Media Wall Be? Planning Your Room Space
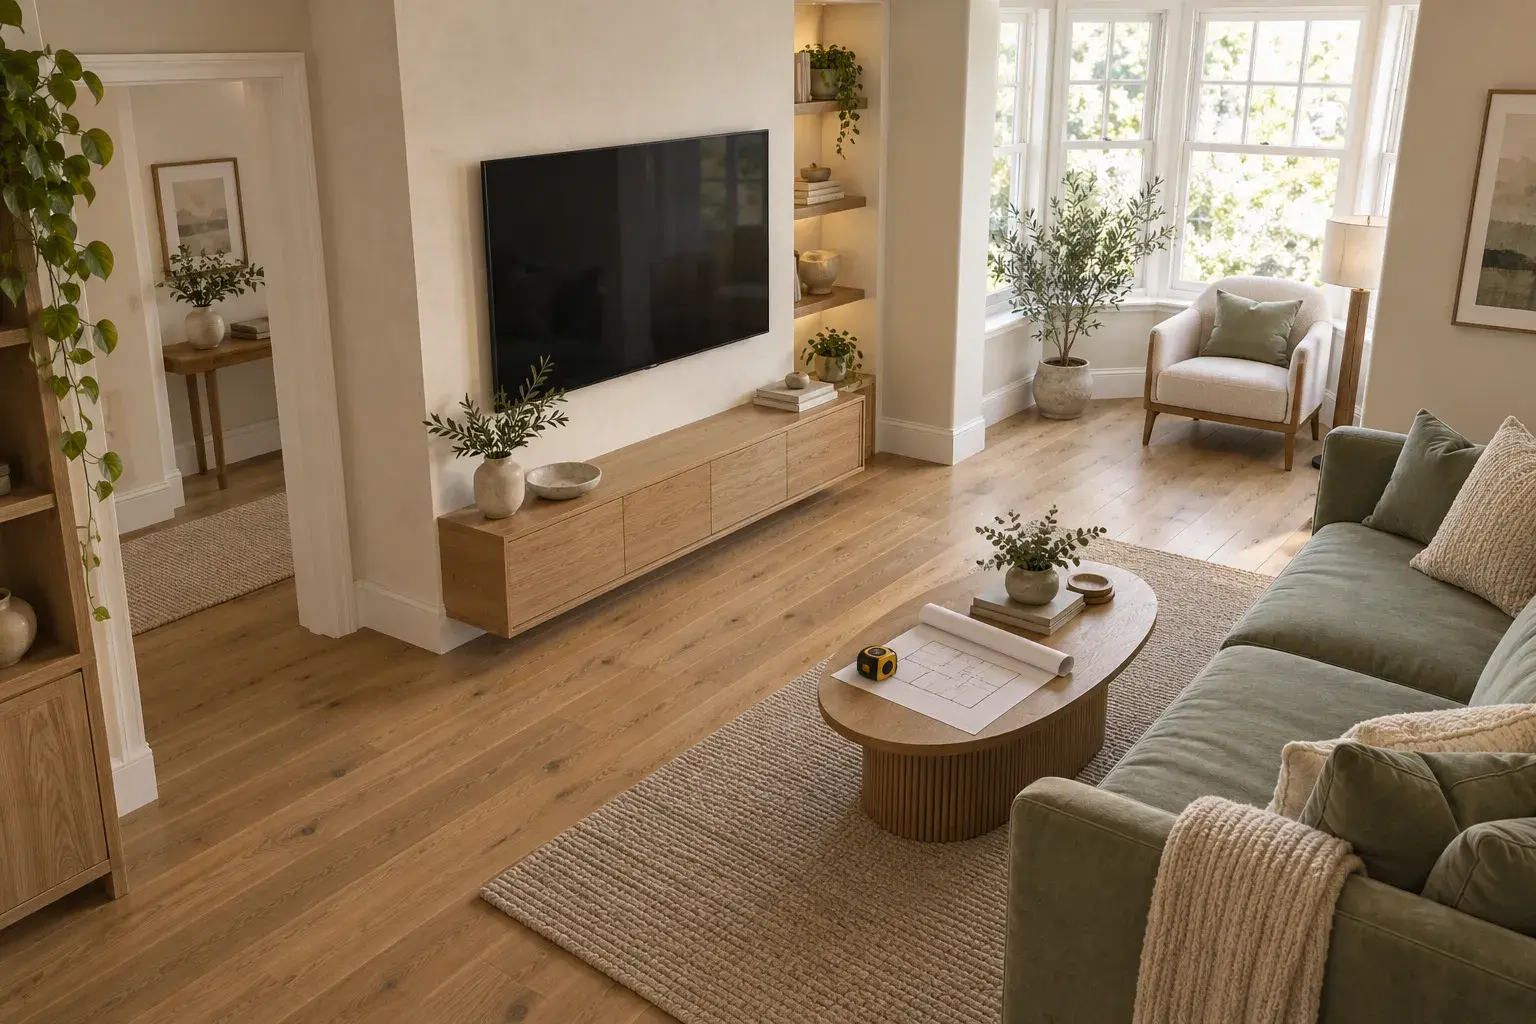
A media wall needs enough depth for the chosen equipment, its installation clearances and the finished structure—not a standard number copied from another room. Before agreeing a design, ask for its finished projection from your existing wall, including any cupboards that stick out further. That is the measurement you can test against your sofa and walking routes.
A shallow wall spanning the whole room can occupy more floor area than a deeper, narrower feature. Equally, replacing a bulky TV cabinet may recover space in front of the sofa. The useful question is not simply “How deep is it?” but “What changes in the room once it is built?”
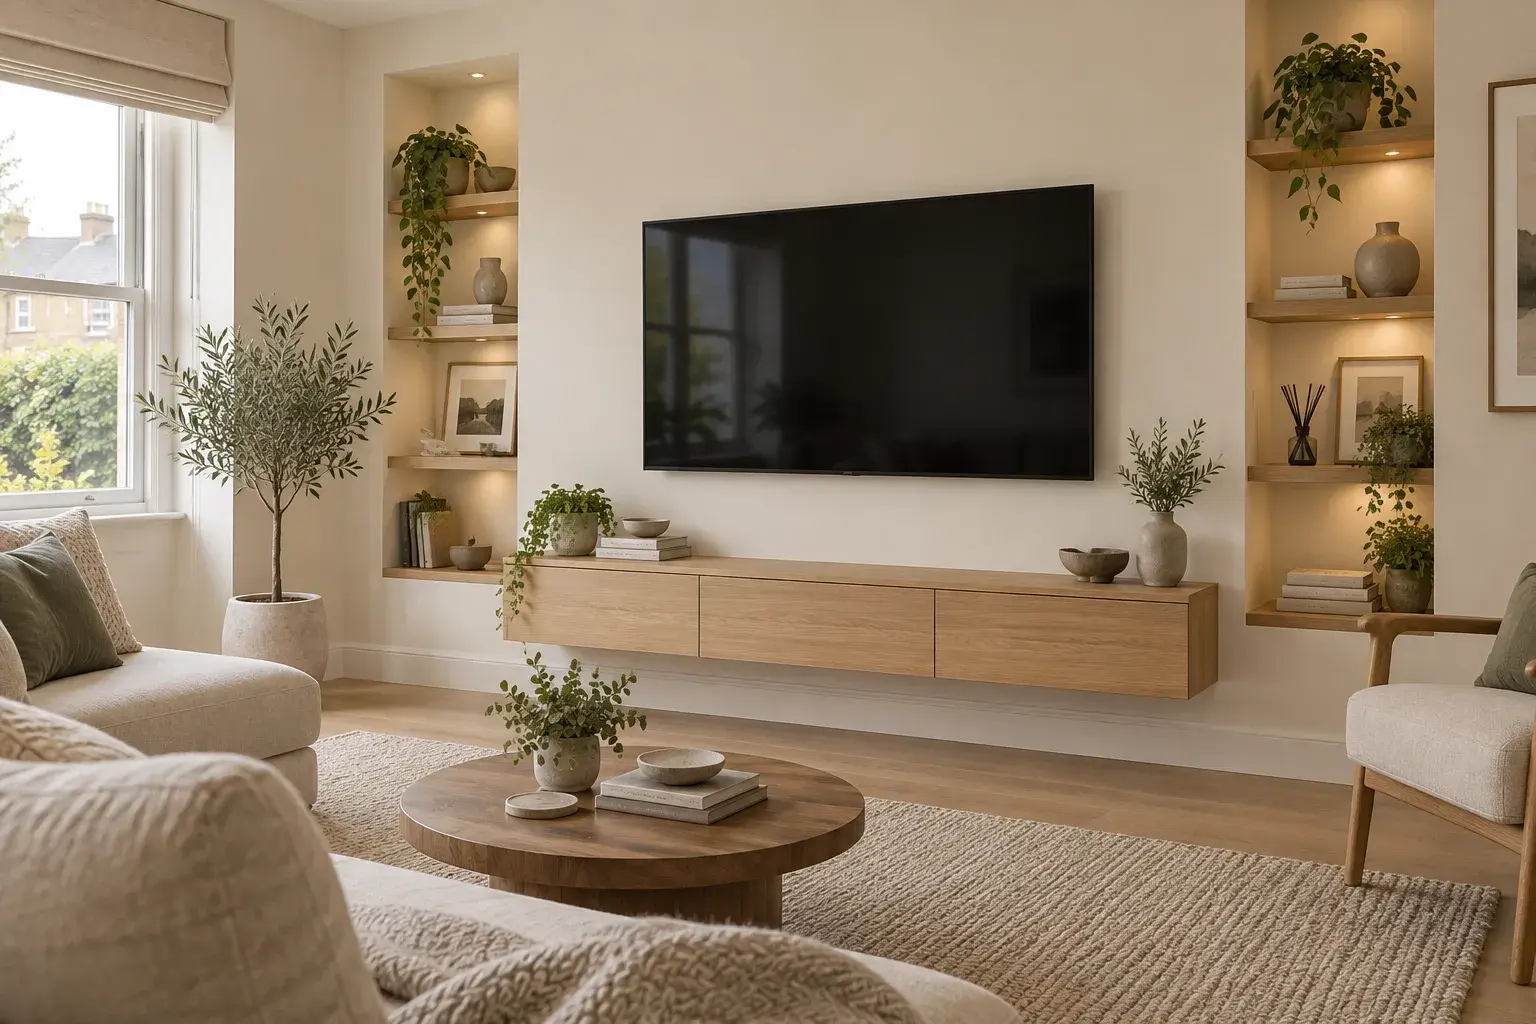
The image is an AI-generated design concept, not a completed Smart Space Living installation or a technical construction drawing.
First, agree what “depth” means
Three different dimensions can appear in a media wall discussion:
- Appliance depth: the front-to-back size of a TV, fire or media device. A decorative fascia and the part recessed behind it may have different dimensions.
- Clear recess depth: the usable space inside an opening, after allowing for anything that intrudes into it. This must suit the appliance's installation instructions.
- Finished projection: how far the completed wall, cabinet or trim extends into your room from an agreed existing surface.
A fire's advertised depth is not automatically the finished media wall depth. Framing, board, finish, connections and any specified clearances still have to be accommodated. Ask the designer for a side-section sketch showing how those parts fit together, rather than adding a generic allowance yourself.
If you have a chimney breast, specify where measurements start: the back of an alcove and the front of the breast are different reference points. A cabinet that sits within an alcove can have useful internal depth without projecting as far into the main room as the same cabinet on a flat wall.
What sets the minimum buildable depth?
An electric fire: use its installation drawing
Choose the exact model before fixing the recess dimensions. Gazco's comparison of eStudio and eReflex fires explains that the slimmer eStudio profile allows a studwork enclosure to project less into the room. That illustrates why the product choice matters; it is not a recommended depth for every media wall.
The manufacturer's eStudio installation instructions also require unobstructed air inlets and outlets and an accessible plug after installation. A cavity that physically contains a fire is not sufficient if the finished design prevents safe operation or access. Other models may have different requirements.
Do not assume that choosing a shallower fire makes a TV-above-fire arrangement acceptable. Both products' instructions must permit the layout. Keep the room-space decision separate from appliance compatibility.
A TV and storage: measure the complete arrangement
Record your actual TV, bracket and equipment models. Ask the designer to account for connected plugs and cables, cupboard backs and doors, and the space needed to remove equipment. A box that fits on an empty shelf may not fit once its cables are connected.
Keep ventilation requirements in the specification. Samsung's UK mounting guidance directs owners to their model's manual and warns against exposing a TV to heat sources. A close-fitting recess should not be chosen solely because it looks tidy in a photograph.
The deepest item need not dictate the depth of the entire wall. Ask whether equipment can sit in a dedicated lower cabinet, with a shallower TV section above. For the separate decision about screen position, use our media wall TV height guide.
Compare the footprint with what you have now
For a rectangular section against a flat wall, a simple planning calculation is:
Width × finished projection = floor-plan footprint
Use metres for both measurements to get square metres. Measure the current cabinet from the wall to its front edge, including any gap behind it. For a stepped design, calculate each non-overlapping section separately; do not count a cabinet and the wall behind it twice.
Here is an illustrative comparison, not a proposed construction specification. Each new option would still need checking against the selected equipment and the room.
| Layout | Width | Projection from the same flat wall | Footprint |
|---|---|---|---|
| Existing TV cabinet | 1.80 m | 0.45 m | 0.81 m² |
| Option A: narrower feature | 2.00 m | 0.35 m | 0.70 m² |
| Option B: wider, shallower feature | 3.60 m | 0.25 m | 0.90 m² |
Option A occupies 0.11 m² less than the existing cabinet and brings the front edge back by 10 cm, but extends 20 cm further across the wall. Option B brings the front edge back by 20 cm, yet occupies 0.09 m² more overall because it is much wider.
Neither is automatically better. If the narrowest walking route is directly in front of the cabinet, reducing projection may be valuable. If a doorway sits beside it, adding width may create a new obstruction. Floor area is a useful comparison, not a substitute for checking where you actually walk.
For a chimney-breast layout, compare the proposed outline with the existing breast and furniture together. Count only the new space occupied beyond them, rather than treating the chimney breast as newly lost floor area.
Test the outline at home before approving it
Mark the proposed front edge and both ends on the floor using a surface-safe method. If using low-tack tape, test it discreetly first. Include the deepest cabinet or trim, not just the main wall face.
Then try the room as you normally use it:
- Walk from the doorway to each regular seat, leaving the coffee table in place.
- Open nearby room doors and proposed cupboard doors; allow for drawers when extended.
- Extend a recliner or sofa bed if you have one.
- Check access to curtains, windows, radiators and existing sockets that must remain usable.
- Consider anyone who needs more manoeuvring space, including a wheelchair or walking aid user.
Use cardboard boxes temporarily within the outline if you need to judge the bulk at cabinet height. Remove them afterwards so they do not become a trip hazard. There is no universal comfortable walkway dimension offered here: test your household's needs and have the designer check any applicable access requirements.
Also ask where the screen face will end up. A new wall can move the screen closer even when its base is shallower than your old cabinet. Test the viewing position with the proposed sofa layout rather than assuming it is unchanged.
If it feels too bulky, change the brief
Give the designer your maximum acceptable projection and the features you most want to keep. Options to explore include a narrower central build, storage within existing alcoves, a separate equipment cabinet or a design without an inset fire. Our media wall design ideas show different arrangements to discuss.
Do not reduce a specified ventilation gap or appliance opening to make a design fit. Change the equipment or layout instead. Likewise, do not assume an existing wall or chimney breast can simply be cut back: any alteration needs appropriate assessment.
Ask for a quote based on a usable room
For a bespoke media wall installation, send photos showing the whole wall and both adjacent corners, not just the TV. Include:
- The wall width, existing chimney-breast projection and alcove dimensions, where relevant.
- Your current cabinet's width and wall-to-front measurement.
- The floor outline you have tested and any doorway or furniture conflicts.
- Exact equipment models, whether a fire is essential, and your storage priorities.
Ask the quote or accompanying drawing to identify the finished projection of each section. That gives you something concrete to approve alongside the appearance and price.
Smart Space Living covers South Wales locations. Request a design consultation and quote, and tell us how much room you want to keep as well as what you want the wall to contain.